
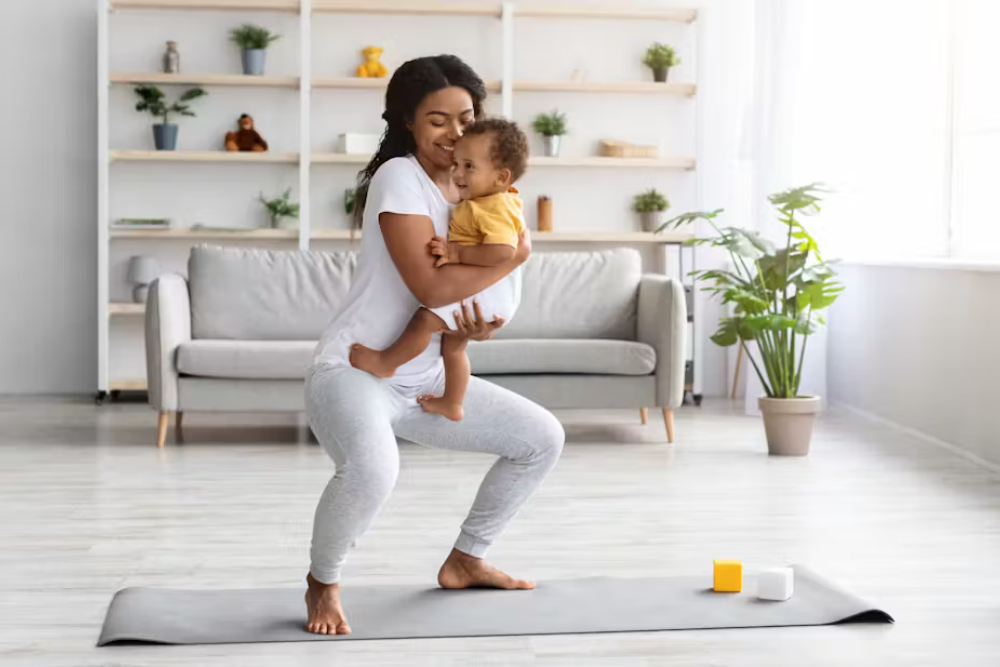
As a new mom, it’s easy to put your own health on the back burner while juggling the demands of caring for your adorable new baby. Yet, postpartum exercise needn’t be an insurmountable challenge.
With the right exercises and a few minutes each day, you can regain balance, increase your energy, and improve your general well-being, ensuring that you survive and thrive as you embrace motherhood's lovely chaos.
So let's slip on our sneakers and start this adventure together to learn how these personal trainer-selected postpartum exercises will help you become the best version of yourself for both you and your precious child.
Postpartum Exercise Safety Precautions
Every mom's postpartum journey is different. Here, though, are some general safety considerations to prepare you to start a postpartum fitness regimen that is safe, supportive of your needs and your recovery process:
- Speak with a Healthcare Professional: It's essential to talk things over with your healthcare practitioner before starting your postpartum fitness program. They are familiar with your special circumstances and can provide insightful advice.
- Have a clear understanding of postpartum recovery timelines: Be patient with yourself. Each person's recovery process takes a different amount of time. So it's crucial to respect the healing process, despite your desire to immediately jump into your fitness program.
- The significance of a healthy pelvic floor: The pelvic floor is a crucial but frequently ignored component of postpartum recovery. It affects the control of the bladder and pelvic stability.
- The importance of gradual progression: Rome wasn’t built in a day, and neither is postpartum fitness. Your fitness adventure will be more fun and long-lasting if you start out slowly and gradually increase the intensity.
5 Best Postpartum Exercises
1. Kegel Exercises
Kegel exercises involve tightening and relaxing the pelvic floor muscles. These muscles support your internal organs, boost sexual enjoyment, and improve bladder control. Incontinence problems can also be avoided by having strong pelvic floor muscles.
Yet, they may be compromised postpartum as a result of pregnancy and childbirth. Your pelvic strength can be regained with kegel exercises.
https://www.youtube.com/watch?v=7C8uoq98x2A
The Best Way to Do Kegel Exercises:
- Locate a peaceful, cozy spot to sit or lie down.
- Focus on your breathing as you get into a relaxed position.
- Simulate stopping the flow of urine in the middle of a bathroom visit. This involves squeezing your pelvic floor muscles.
- Feel the light squeeze as you contract these muscles for 5 seconds.
- Relax for 5 seconds.
- Complete five contractions to complete a set.
- Repeat this process three to five times throughout the day, aiming for at least three sets. You can gradually lengthen each contraction and the number of repetitions as you get more accustomed to doing Kegels.
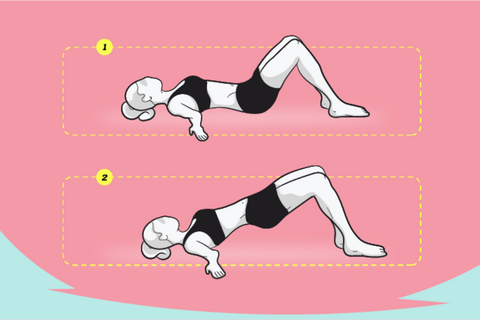
2. Pelvic Tilts

Pelvic tilt exercises, which involve tilting or swaying your pelvis, gently yet effectively target your core and lower back. They’ll help you regain core stability and ease lower back pain.
Pelvic tilts focus on your abdominal muscles, which frequently get weaker during pregnancy. These muscles must be strengthened for overall core stability.
Pelvic tilts can also help relieve discomfort by gently stretching and strengthening the muscles in your lower back if you have suffered lower back pain during pregnancy or after giving birth.
Note: Pelvic tilts are a cornerstone of postpartum recovery. On top of these exercises, consider enhancing your routine with a soothing postpartum herbal sitz bath to promote healing in this delicate area.
https://www.youtube.com/watch?v=7qgTYFZrGBE
How to perform pelvic tilts:
- Lay on your back on a soft surface, such as a yoga mat or your bed. Put your feet flat on the ground with your hips apart. Bend your knees. Keep your arms at your sides, palms downward.
- Take a deep breath and allow your belly to rise naturally.
- Press your lower back into the floor as you exhale.
- Tilt your pelvis back as you contract your abs. Hold for 5 seconds.
- Do 5-10 repetitions.
3. Diaphragmatic Breathing

Diaphragmatic breathing, also referred to as deep breathing or belly breathing, is a straightforward but incredibly powerful breathing technique. It involves contracting the diaphragm, a dome-shaped muscle beneath the lungs, to promote deeper and more productive breathing.
Diaphragmatic breathing emphasizes using the lower abdominal and diaphragm muscles, which strengthen the core. This has the potential to gradually develop core strength and stability, which is advantageous in the postpartum period.
It's also amazing how well this breathing method works to make you feel peaceful and relaxed. Diaphragmatic breathing maximizes the exchange of oxygen in your lungs, enabling improved circulation and boosting general vitality.
https://www.youtube.com/watch?v=Mg2ar-7_HfA
How to Perform Diaphragmatic Breathing:
- Lay on your back on a soft surface, such as a yoga mat or your bed.
- Put one hand on your belly, just under your ribs, and the other hand on your chest.
- Take a deep breath through your nose, allowing your tummy to lift as your lungs fill with air. Rather than elevating your chest, concentrate on stretching out your lower abdomen.
- Continue taking deep breaths while feeling your diaphragm contract. Let any tension or stress out slowly by exhaling through your mouth or nose. Gently squeeze your abdominal muscles to thoroughly evacuate the air as you exhale.
- Keep breathing deeply for 60 seconds while focusing on the rise and fall of your abdomen. Imagine your body relaxing as you take each breath, replacing the stress that is currently present.
4. Glute Bridges

Glute bridges are a flexible and accessible exercise that can help postpartum women restore strength in their lower body. This exercise is designed to activate and strengthen your glute muscles, which can weaken during pregnancy and childbirth.
By stabilizing the lower back and pelvis, these bridges also help you stand more upright. In addition to your glutes, glute bridges also target your hamstrings and lower back, helping to tighten and tone these regions.
https://www.youtube.com/watch?v=OUgsJ8-Vi0E&t=2s
How to Perform Glute Bridges Step by Step:
- Lay on your back on a soft surface, such as a yoga mat or your bed. Place your feet flat on the floor and your arms at your sides, palms down.
- Inhale deeply. Exhale as you push through your heels and lift your hips up toward the ceiling.
- In the top position, concentrate on forming a straight line from your shoulders to your knees.
- Squeeze your glutes (butt muscles);
- Hold for 5 seconds.
- Lower and repeat for 10-15 repetitions.
Note: After a while, you may feel that you need extra resistance on this exercise. By investing in an adjustable dumbbell, you’ll be able to hold a lightweight on your tummy to increase the load on the glutes.
5. Postpartum Yoga
Yoga is a great fit for new moms. It encourages relaxation through deep breathing and mindfulness practices, which helps new mothers manage the stress that frequently comes with taking care of a baby.
Many yoga poses work the core muscles, which can help in the recovery of abdominal strength and stability following pregnancy. Some yoga postures are made to support the pelvic floor muscles, which may weaken following childbirth.
Flexibility and suppleness are improved through yoga, which can be particularly beneficial as you get used to the physical demands of motherhood. Yoga practice also encourages better posture, which lessens the stress that carrying and nursing your infant might put on your back and shoulders.
7 Great Postpartum Yoga Poses
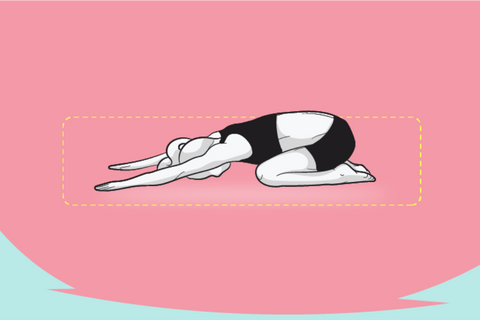
- Balasana (Child's Pose): This relaxing pose stretches the lower back and eases tension. It's a great option for unwinding and can be adjusted to your comfort.
https://www.youtube.com/watch?v=2vJKSlfLX10
Step-by-Step Guide:
- Start in a kneeling position with knees hip-width apart.
- Sit back on your heels, optionally using a cushion for comfort.
- Inhale and lengthen your spine from tailbone to head.
- Exhale, hinge at your hips, and lower your chest toward your thighs.
- Extend your arms forward, palms on the mat.
- Relax your forehead, using a cushion if needed.
- Close your eyes, breathe deeply, and relax.
- Stay as long as you are comfortable.
- To release, walk hands back, lift torso, and sit on heels, savoring the benefits.
- Cat-Cow Stretch: This dynamic exercise activates the core and warms up the spine. It helps new mothers who want to strengthen their core.
https://www.youtube.com/watch?v=fcnv4gyMzf8
Step-by-Step Guide:
- Begin in a tabletop position on your hands and knees.
- Inhale and arch your back (cow pose) while lifting your head and tailbone.
- Exhale, round your back (cat pose) and tuck your chin.
- Repeat, flowing with your breath, for a soothing spinal stretch.
- Perform several cycles at your own pace, feeling your spine relax and flex.
- Pelvic Tilts: These can be performed while sitting or lying down and serve to strengthen the muscles in the lower back and pelvic floor.
https://www.youtube.com/watch?v=44D6Xc2Fkek
Step-by-Step Guide:
- Get into a tabletop position with your hands and knees on the mat.
- As you breathe in, arch your back, lifting your head and tailbone toward the ceiling.
- On the exhale, round your back like an angry cat, tucking your chin to your chest.
- Continue this graceful flow, syncing it with your breath for a soothing spinal stretch.
- Bridge Pose (Setu Bandha Sarvangasana) is a great option for strengthening the lower body and core while also enhancing posture.
https://www.youtube.com/watch?v=g78vfuC4QBI
Step-by-Step Guide:
- Start lying on your back with knees bent and feet hip-width apart.
- Place arms alongside your body, palms facing down.
- Inhale, engage the core and lift your hips toward the ceiling.
- Keep feet and shoulders grounded.
- Hold for a few breaths.
- Exhale and gently lower your hips.
- Repeat as desired for lower body strength and posture improvement.
- Seated Forward Bend (Paschimottanasana): This mild stretch promotes relaxation and relieves lower back stress.
https://www.youtube.com/watch?v=T8sgVyF4Ux4
Step-by-Step Guide:
- Begin seated with your legs extended in front.
- Inhale and lengthen your spine.
- Exhale, hinge at your hips and reach for your toes.
- Keep your back straight and chest open.
- Hold for a few breaths, feeling the stretch in your hamstrings.
- Inhale, release and return to a seated position.
- Repeat for a gentle lower back stretch and relaxation.
- Modified Downward-Facing Dog (Adho Mukha Svanasana): This modification of the traditional yoga pose works the core and upper body while providing a light stretch.
https://www.youtube.com/shorts/3_fmy6vCdpU
Step-by-Step Guide:
- Start on your hands and knees in a tabletop position.
- Walk your hands a few inches forward.
- Tuck your toes and lift your hips up.
- Keep knees slightly bent and heels lifted if needed.
- Stretch your arms and lengthen your spine.
- Maintain the pose, breathe deeply, and gently stretch.
- Release and return to the tabletop position as desired for a gentle stretch.
- Warrior II (Virabhadrasana II) is a standing posture that helps build strength and endurance. It is perfect for new mothers seeking to get back in shape.
https://www.youtube.com/watch?v=ieh7gRIBM68
Step-by-Step Guide:
- Begin in a standing position, legs about 4 feet apart.
- Turn your right foot out 90 degrees and your left foot slightly inward.
- Extend your arms out parallel to the floor, shoulders relaxed.
- Bend your right knee over the ankle.
- Gaze over your right fingertips.
- Hold the pose for several breaths, feeling strong and grounded.
- Release and switch sides for a balanced practice.
Wrap-Up
Have faith in your body's capacity to recover, change, and get stronger every day. Establish reasonable goals as you use the exercises above as the basis of your personalized fitness plan, emphasizing consistency and combining different exercises.
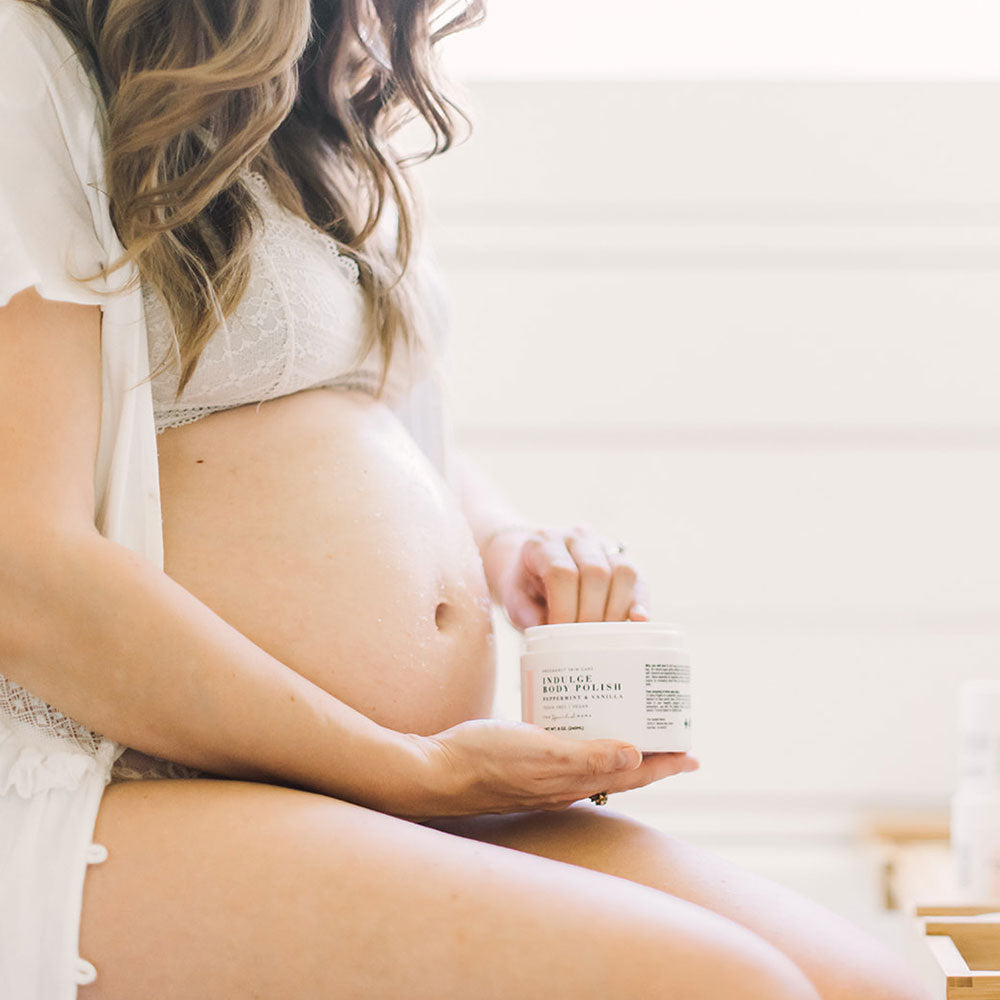
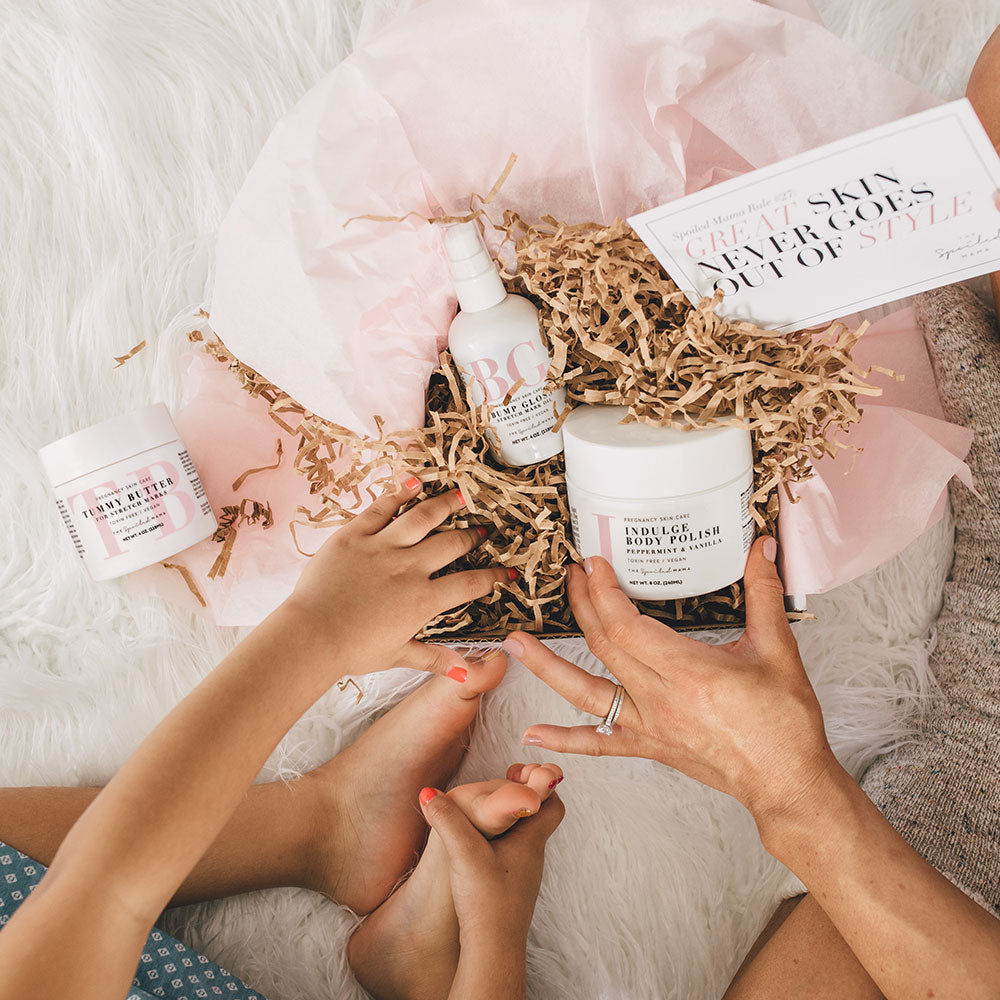
As you embark on this postpartum phase, don't forget to help your body recover faster with 4th trimester (postpartum phase) products, such as our Tummy Butter for stretchmarks and many others.
Remember, you’re regaining your physical stamina with each breath, stretch, and motion and nourishing your soul. Your commitment to yourself and your precious family during your postpartum fitness journey is a testament to your love, bravery, and selflessness.
__________________________________________________________
Author Info
Hi, my name’s Steve Theunissen. I joined my first gym at age 15 and five years later, I was managing my own studio. In 1987, I became the first personal fitness trainer in New Zealand. Over the past decade, I have built a freelance fitness writing career to share my fitness passion with the world.


Leave a comment
All comments are moderated before being published.
This site is protected by hCaptcha and the hCaptcha Privacy Policy and Terms of Service apply.